

Today I was still dealing with paint and shit.
The first coat of filling product I applied the other day was already dry, so I sanded it and then proceeded to fill the holes with more filling product.
You might be wondering how the hell it became like this.
This part that is in the back was actually in the front; My last house was big, so I didn't had any trouble bringing the clothing rack inside. But, since I moved to an appartment, the clothing rack didn't fit inside the elevator. We considered even bringing it by stairs, but the roof of the staircase is too low and the path is too narrow to move it around. So, we had to cut it in pieces to be able to bring it inside. As it was an old piece, the person who made it glued all the parts and used nails instead of screws, so when we tried to remove the back, it came out all teared on the sides.
Now my work was to fill the tears and let everything more or less plain, so it doesn't looked so bad, then apply the paint to make the piece looks good.
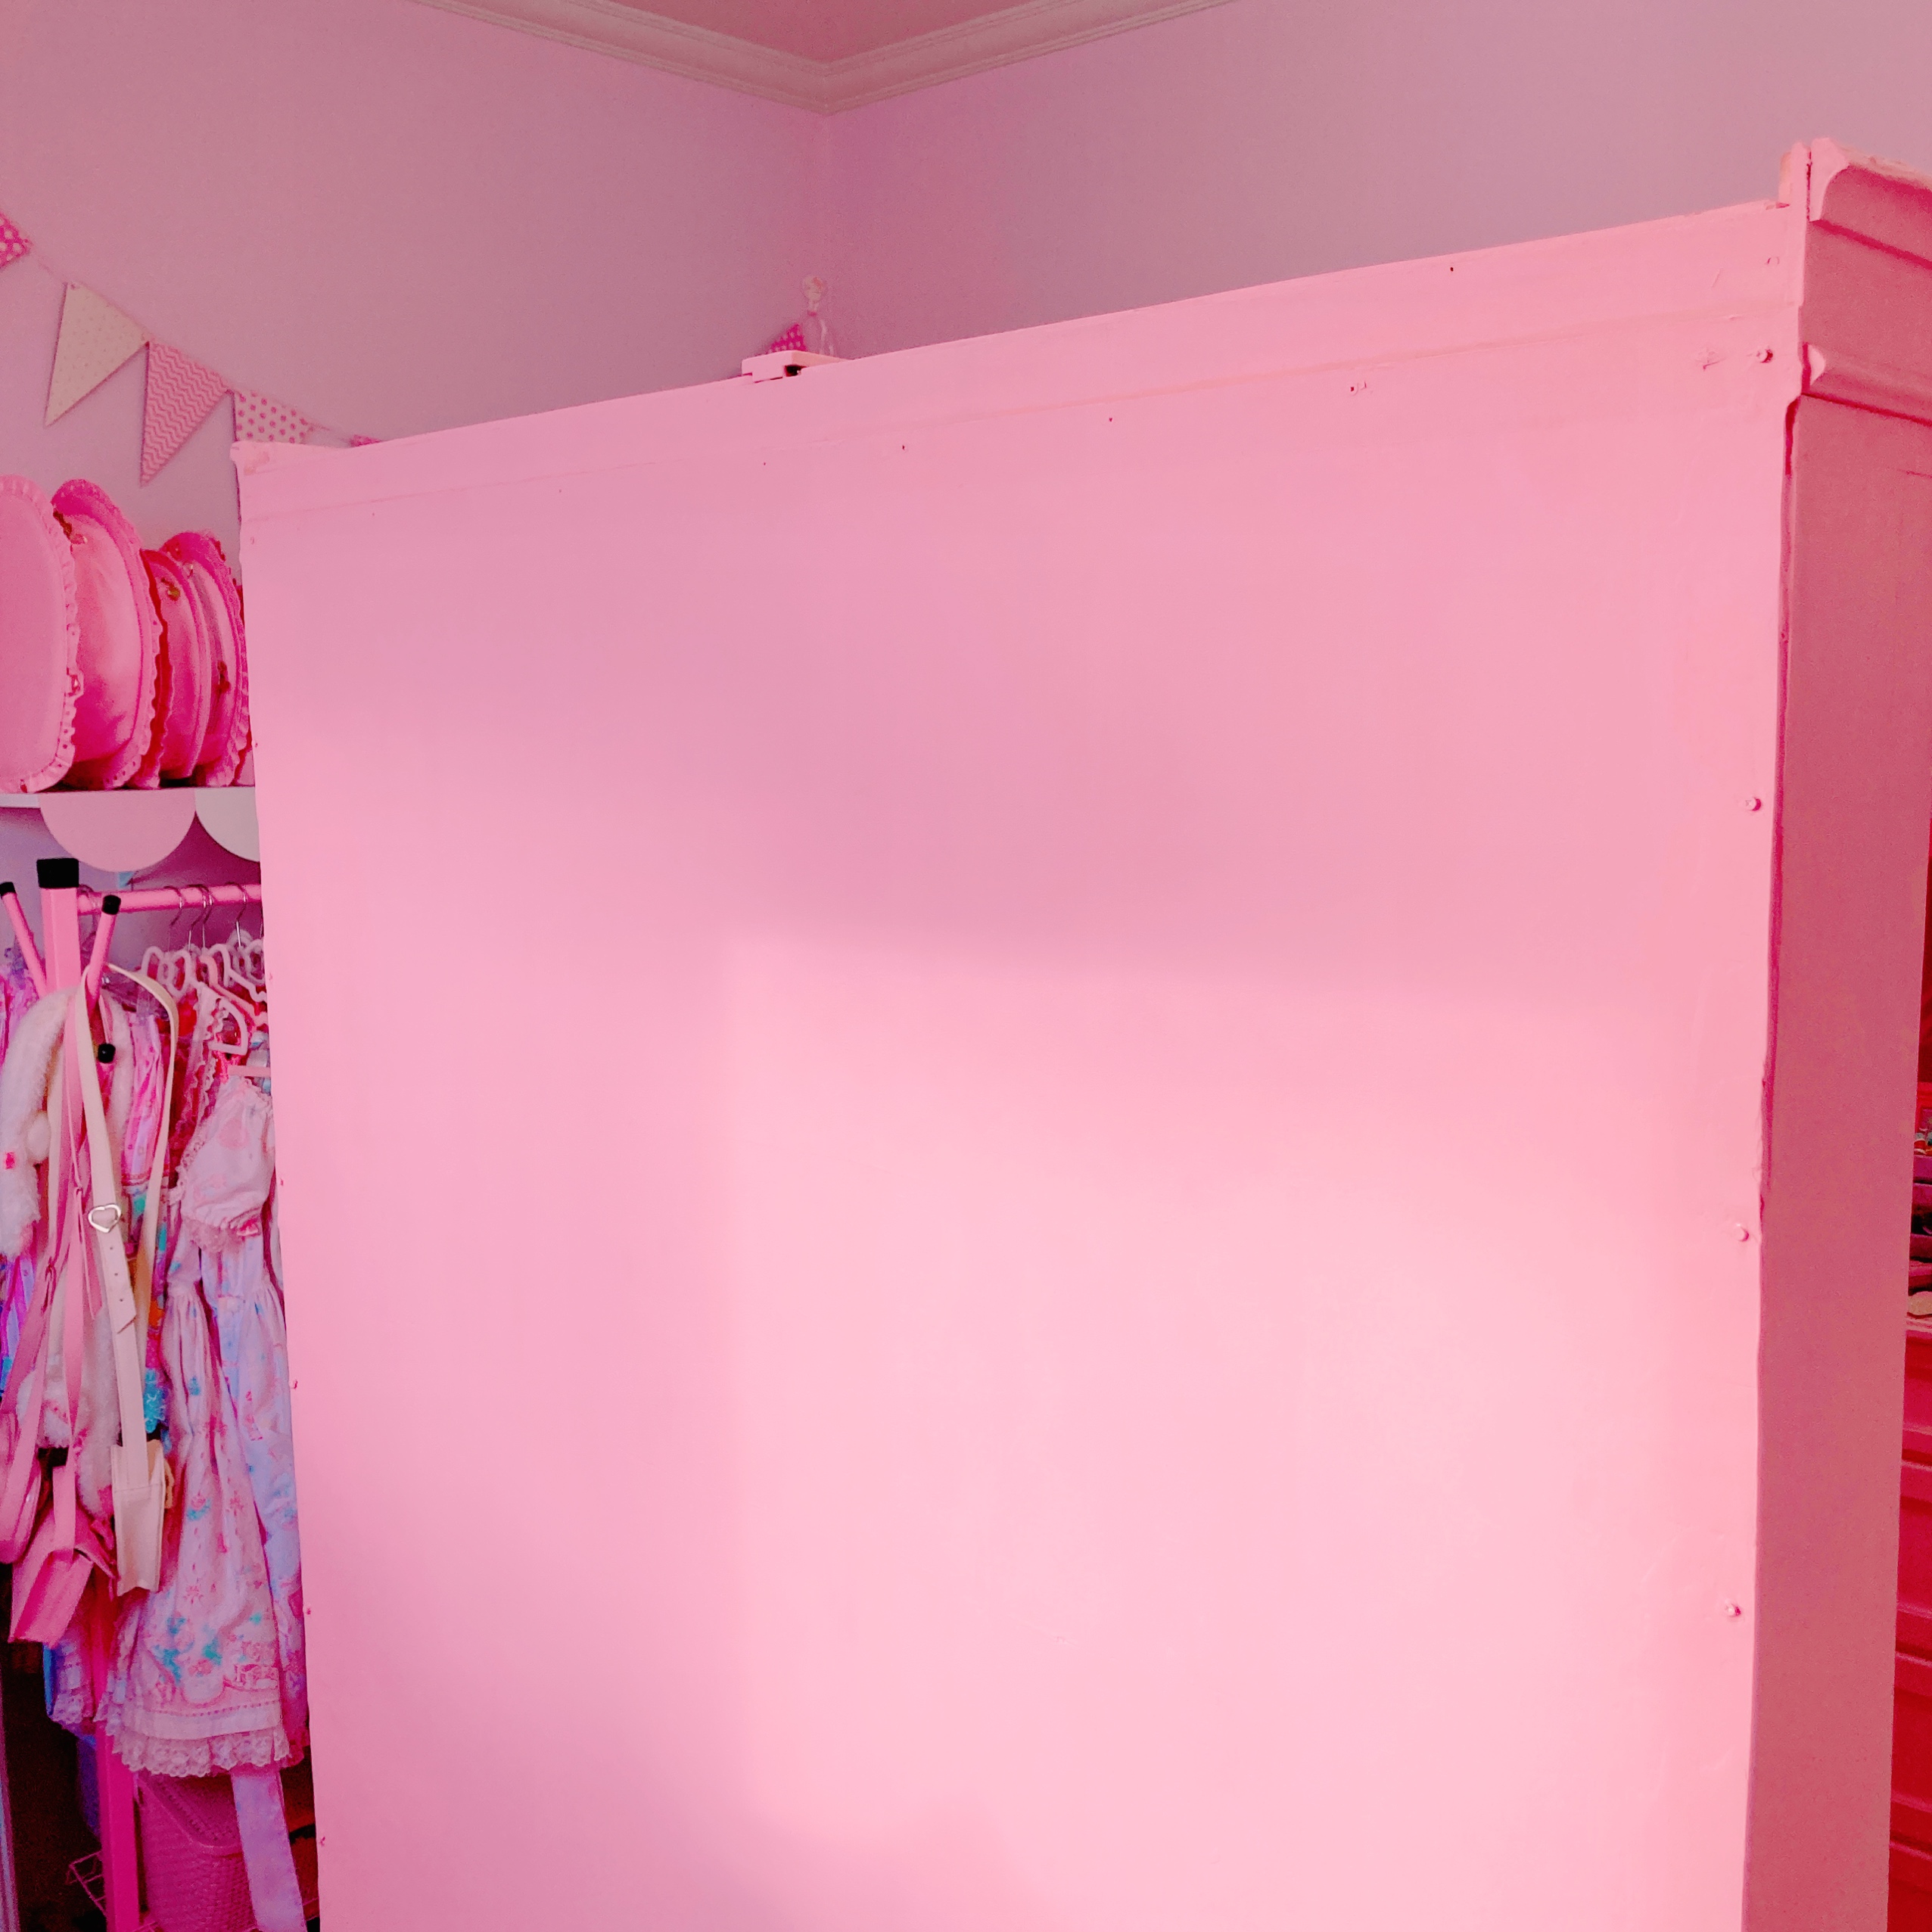
And that was the final result, while it was almost dry.
I am really happy with the result!


I love DIY projects, restoration and customize things. You did a great job!
ReplyDeleteThank you! I like making the things new again ^^
Delete